Grocery Documentation
Installing the Child Theme and Importing Demo Content
Make sure you have the latest version of the Divi Theme installed and activated.
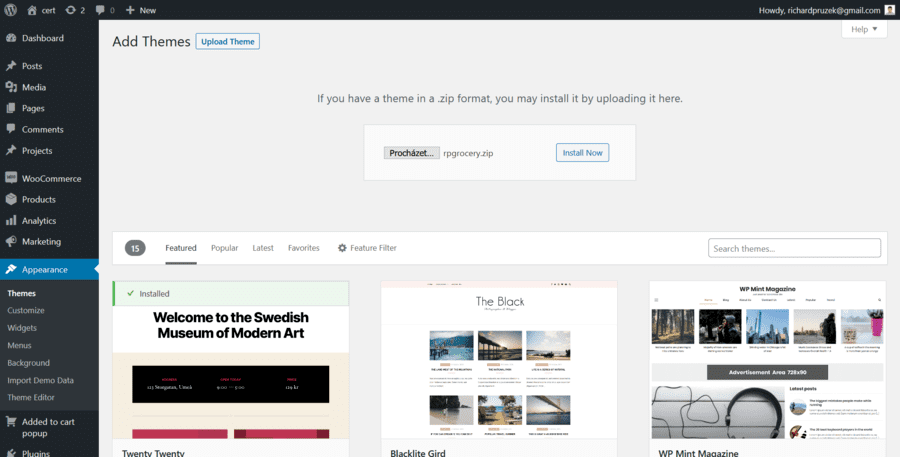
Go to Appearance → Themes and click on Add New and then on Upload Theme
Select the downloaded file rpgrocery.zip and click on Install Now and Activate
You will be asked to install additional plugins. Click on Beginn Installing Plugins. Select and install all plugins (there are 6 together). Please, be patient, it can take several minutes.

Once the plugins are installed and activated, refresh the page.
Go to Appearance → Import Demo Content. Click on Import Demo Content. Please, be patient again, this can take several minutes.
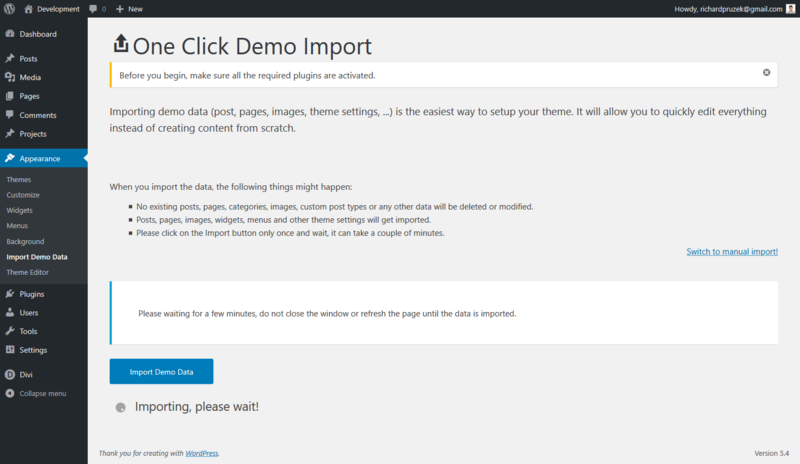
Great, the demo content is now uploaded!
Importing Divi Theme Options and Theme Builder
This step will be very easy!
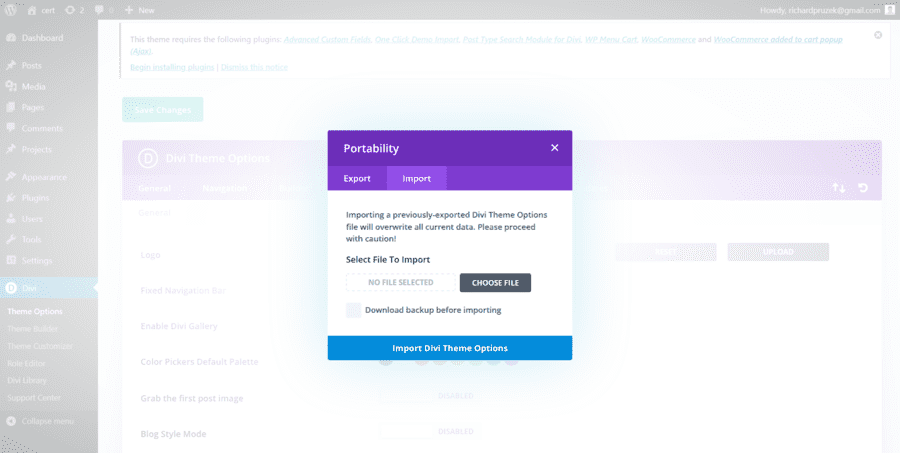
Go to Divi → Theme Options and click on the “Two Arrows” icon symbolizing Import/Export. Select Import and choose the Divi Theme Options.json file that you downloaded.
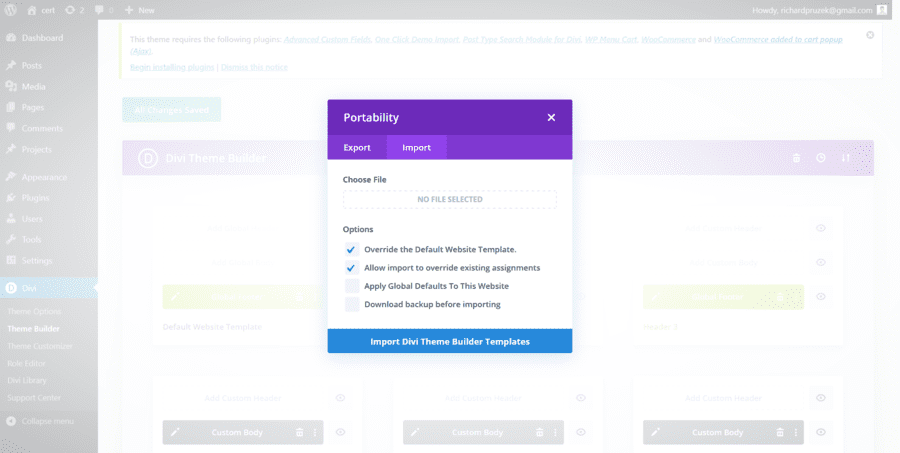
Once the Theme Options are uploaded, got to Divi → Theme Builder and click on the Import/Export icon as well. Choose the downloaded Divi-Theme-Builder.json file and import the Theme Builder.
Great! Now we have both uploaded and imported.
Setting Up Added To Cart Pop-Up
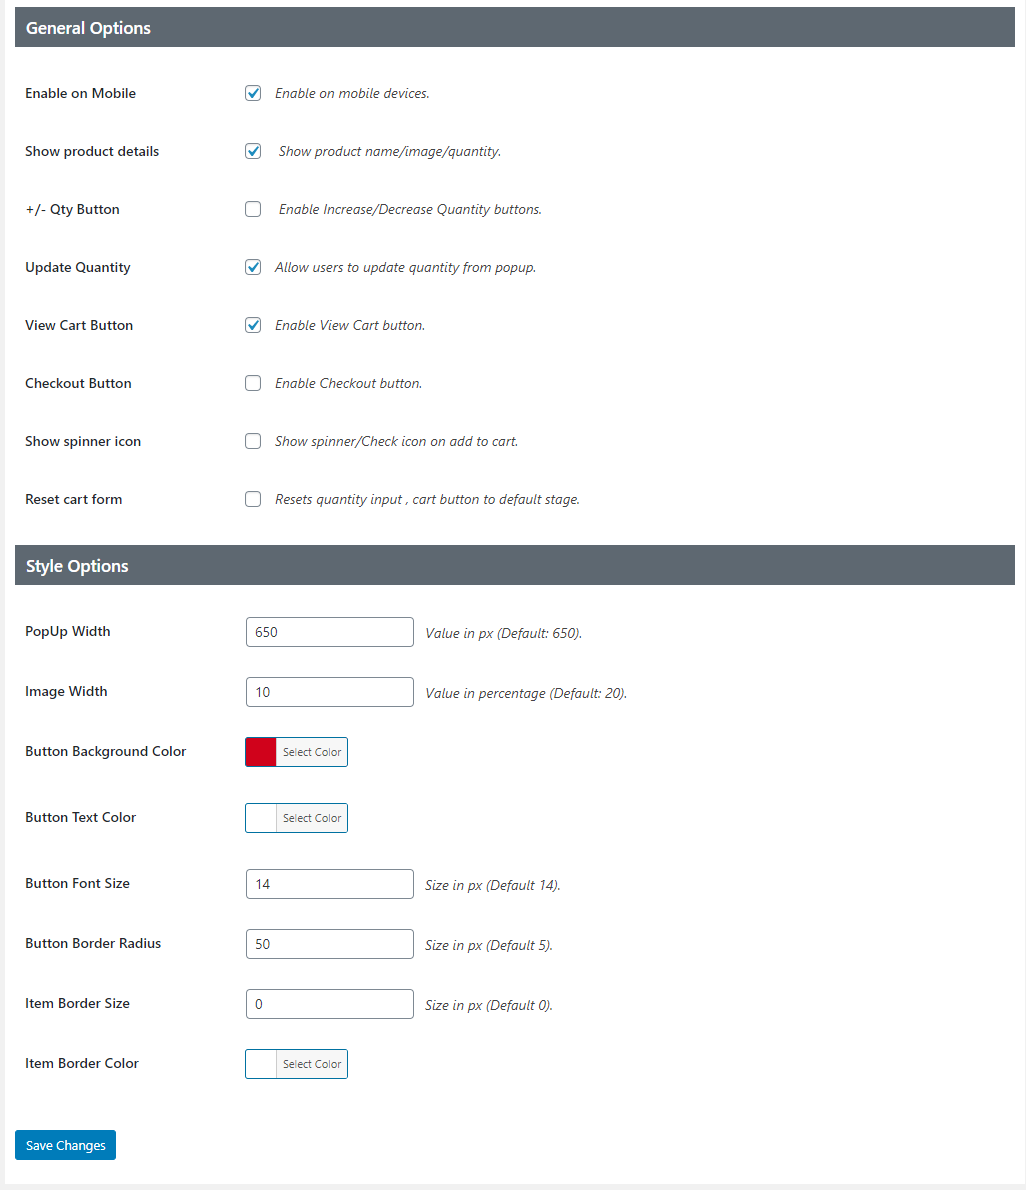
In this step, we will set up the Added To Cart plugin exactly as in the demo.
Go to Added to cart popup in your WP menu and follow the settings in the picture below. Of course, you can customize the plugin according to your needs as well!
Setting Up WooCommerce Pages
This is going to be an easy and quick step.
Go to WooCommerce → Settings in your WP menu and choose the Advanced tab.
Choose the Cart, Checkout and My Account page (their names are exactly the same). Follow the picture bellow.
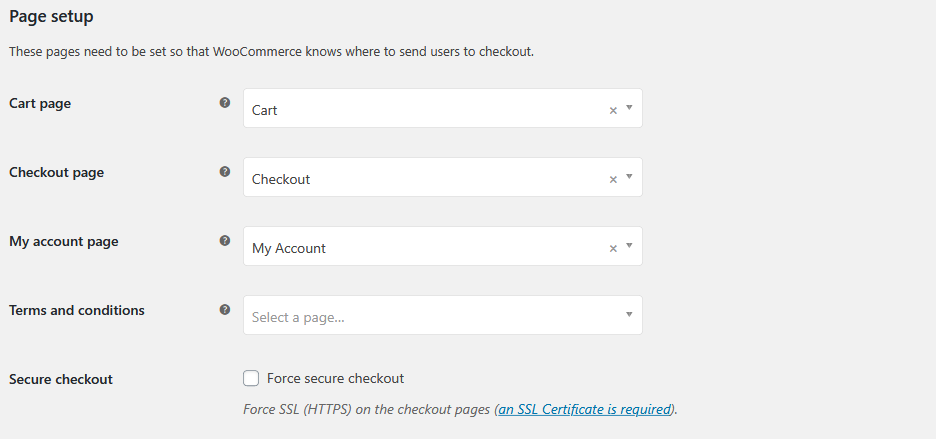
Don’t forget to save the changes.
Setting Up Menu Cart Button
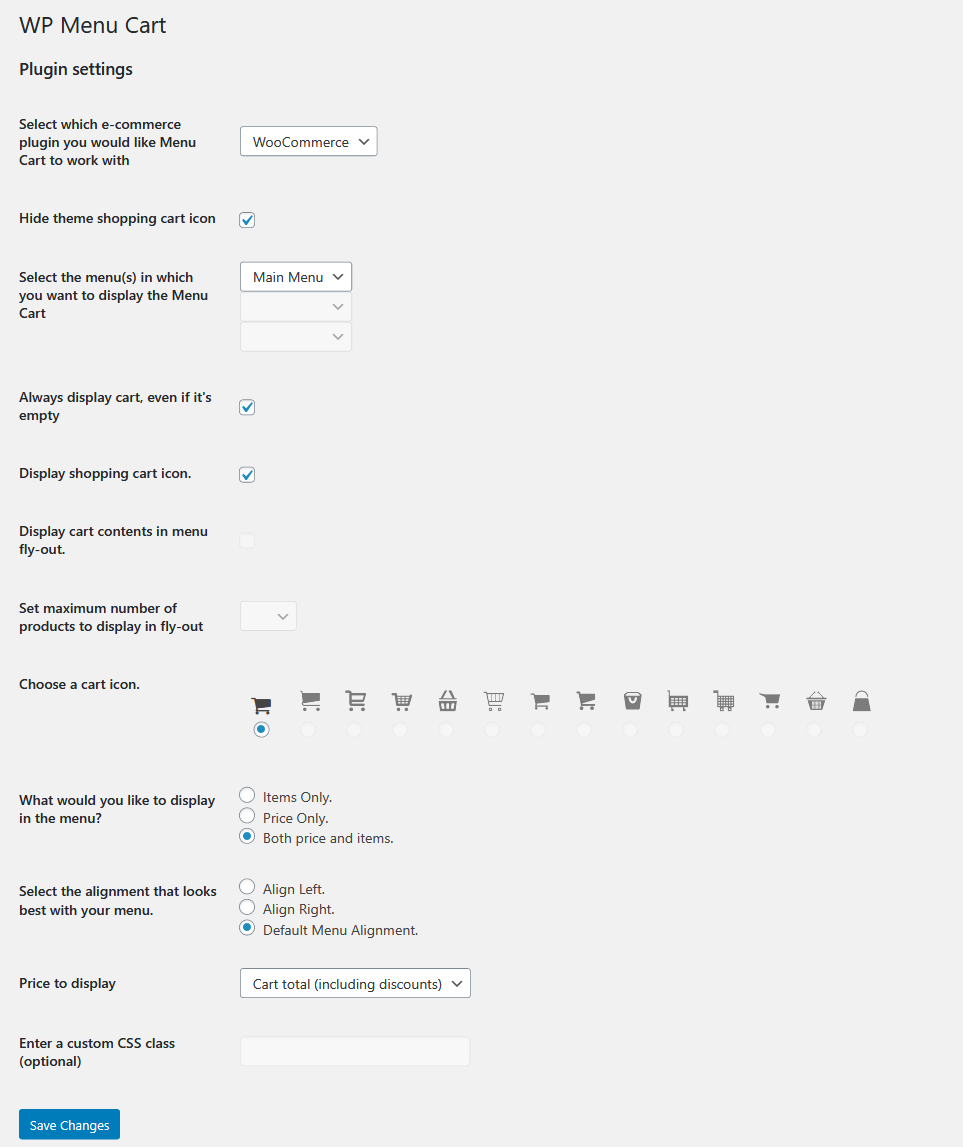
In this step, we will customize the cart button in our menu.
Go to WooCommerce → Menu Cart Setup and follow the picture below. Of course, you can customize the button according to your preferences!
Accent Color Change
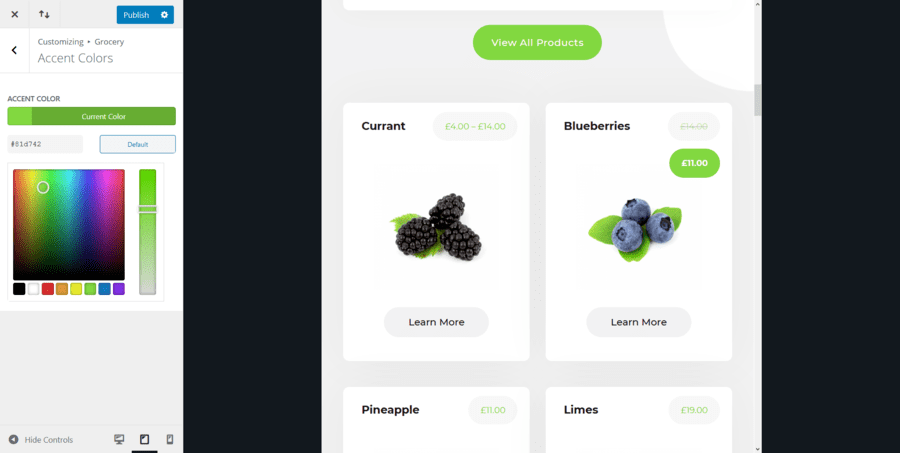
If you don’t like red, don’t worry! You can change the accent color with one click!
Go to Appearance → Customize and click on Grocery. Select Accent Color and choose your preferred color. Don’t forget to save the changes!
Preloader Settings
We can change the preloader color and background.
Go to Appearance → Customize and click on Grocery. Select Preloader and choose your preferred color and background color. Don’t forget to save the changes!

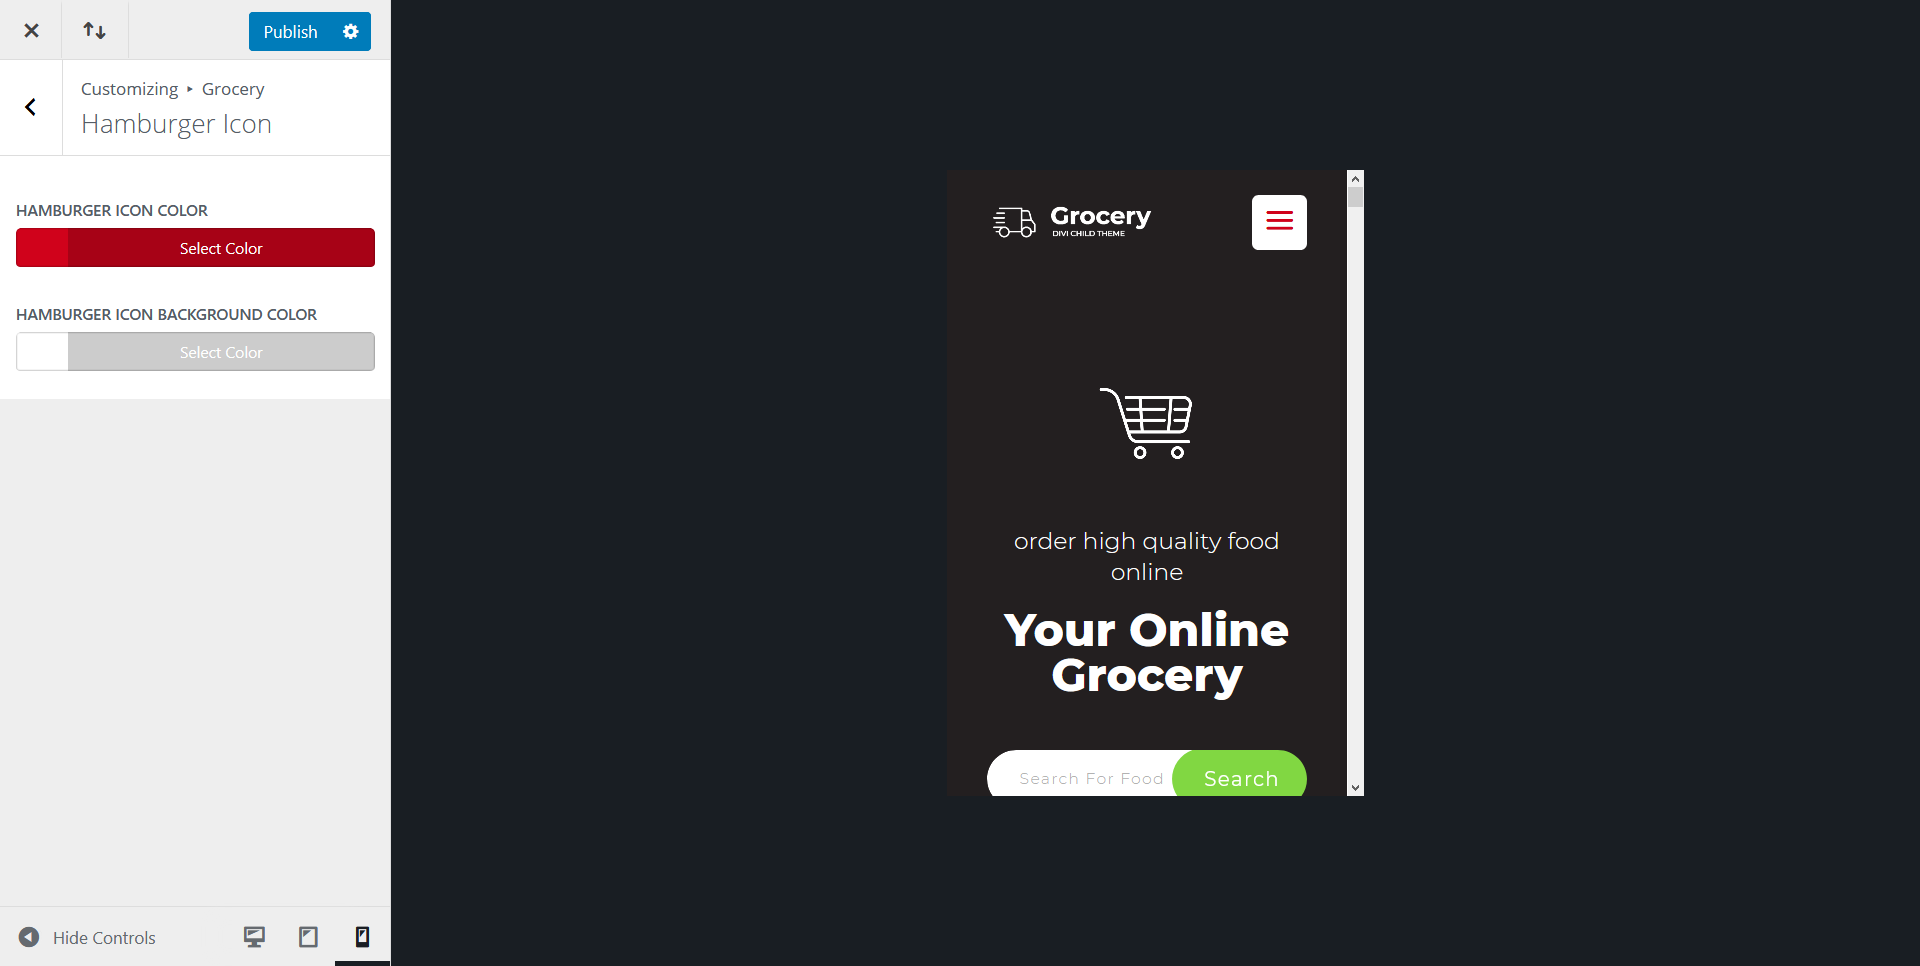
Hamburger Icon Settings
We can change the hamburger icon color and background.
Go to Appearance → Customize and click on Grocery. Select Hamburger Icon and choose your preferred color and background color. Don’t forget to save the changes!
Product Page
In this child theme, we use the Theme Builder to determine the products’ pages.
In order to change the product page, go to Divi → Theme Builder and select one of the three product templates that come with this child theme. You can also decide, which products will use each template and create unique templates for each product.
In the templates, we use dynamic content. In order to learn more about dynamic content and Theme Builder, I recommend visiting this Elegant Theme’s page: https://www.elegantthemes.com/blog/theme-releases/divi-4
It is a great page where everything is explained.
Custom Fields for Products
Maybe you’d like to display some additional information about your products on the product page but you don’t really want to use the Divi Builder on each product + it’s not even possible if we use the theme builder.
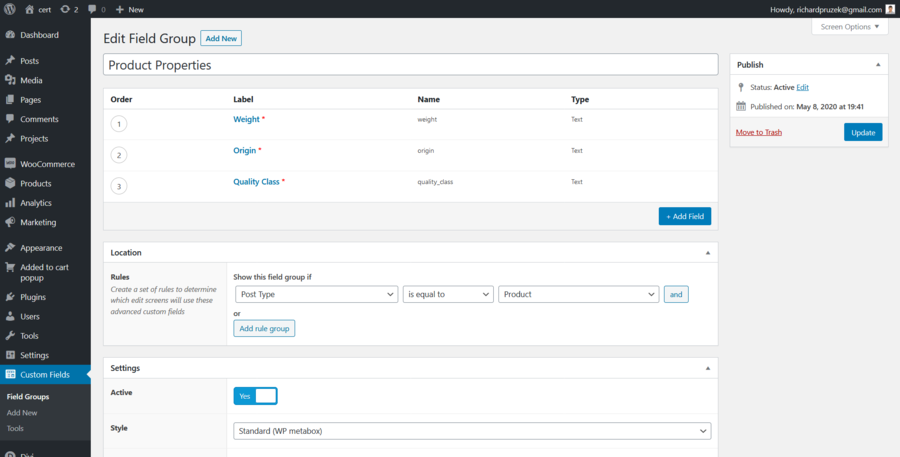
This is why we also use Advanced Custom Fields in the Child theme – a great way to display additional info such as parameters, country of origin, quality class, and so on.
In order to set up your custom fields, go to Custom Fields → Fields Group. As you can see, I already created one group for the demo purpose. You can easily create your own and assign them to all products or only some products.
Using the Advanced Custom Fields is fully optional but if you’d like to use it and learn more about it, I recommend this video (it shows posts but you can also use it for products): https://www.youtube.com/watch?v=ibVUNIcjwJo
Changing Archive, Shop and Search Result Pages
Grocery comes with 3 custom shop modules but only one can be used for product archive pages, search result page, and shop page.
If you’d like to use another style for the pages mentioned above, go to Divi → Theme Builder and choose the template you’d like to change. Load the Divi Builder for Custom body.
Here you can delete the default shop module and add another from the Divi Library. You can also create your own style.

Whichever shop module you use, make sure that you always enable Use Current Page option.
Using The Divi Library
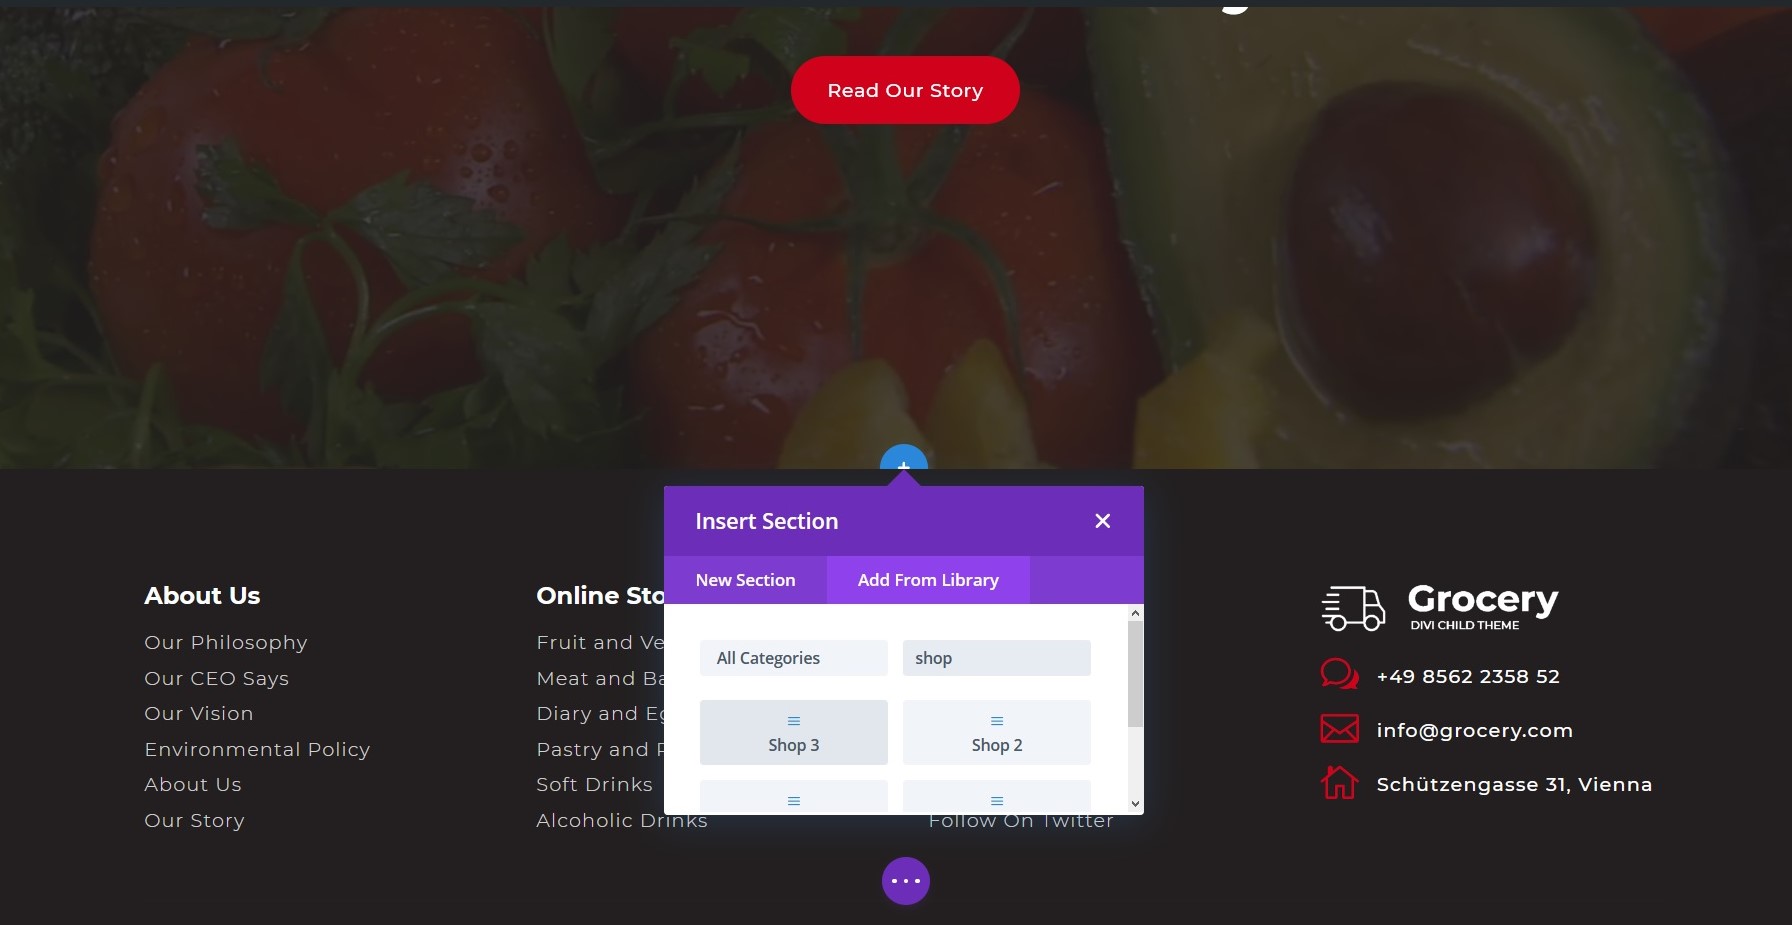
You can fast and easily build your site by using the premade sections in the Divi Library.
Simple Create a new page, enable the Divi Builder, and click to add a new section. Choose to add a section from the library and select a premade section.
Whatever shop module you use, make sure that you always enable Use Current Page option.
Support
I’ll be more than happy to answer all your questions! Please, send me a message to info (@) richardpruzek.com and I’ll be in touch with you quickly.
If you have an issue, please consider sending the login details so I can help you straight away.
If you’d like to resolve an issue regarding the Divi Theme, I recommend contacting their support or asking in one of the supportive Divi Facebook groups.
Here are few examples:
Divi Web Designers: https://www.facebook.com/groups/diviwebdesigners/
Divi Theme Users: https://www.facebook.com/groups/DiviThemeUsers/